I decided it’s been a long time since I made challah. I decided I wanted to try to figure out how to take an existing recipe and adapt it to use my starter. I decided this on Friday morning which meant that I didn’t have a lot of time if I wanted challah on the dinner table on Friday evening.
Given the time constraint I decided I’d stick with my usual recipe but substitute 300g of starter for 150g of each of flour and water. I also decided to add 20g of gluten since I was using AP flour. I got my starter ready in the morning – taking the 100g of discard and feeding it with 100g each of flour and water. I had been a bit lazy in the morning and took my time getting ready so I didn’t get this done until around 8:30 in the morning.
At about 1:30 I came upstairs from my home office (I would’ve preferred to wait till 2 or even 2:30 but I had a 2:15 meeting so I couldn’t push it back any more) and started to make the dough. I took all of my ingredients: the flour, gluten, water, eggs, salt, oil, yeast, and starter and put them in my stand mixer and got it started. It was having trouble absorbing all the flour (this is a hard dough which makes it so much easier to shape and work with) so I added more water. And some more water. I finally got the dough to the right point but I’d added almost 100g of water more than normal. And the mixer was struggling to knead it. So I took it out of the mixer and kneaded it by hand.
When I felt I had kneaded it enough and the dough was stretchy enough to see through without tearing I put it back in the bowl of the stand mixer and covered it with plastic wrap. Understand that the dough at this point is about 1/3 the volume of the bowl of my stand mixer. I figured I’d be back up to take a look at it in 45 minutes or an hour. But my meeting ran a bit long and I didn’t get back up for closer to 90 minutes. When I finally got back up the dough had risen so much it was cresting over the top of the bowl. Not anything I was expecting.
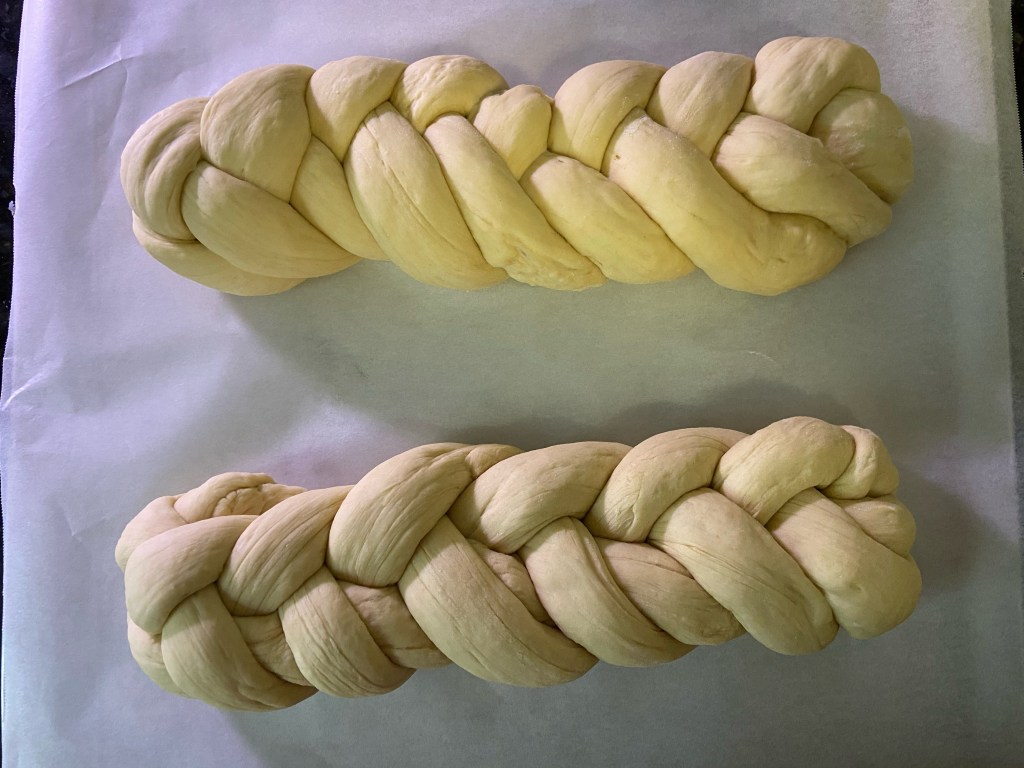
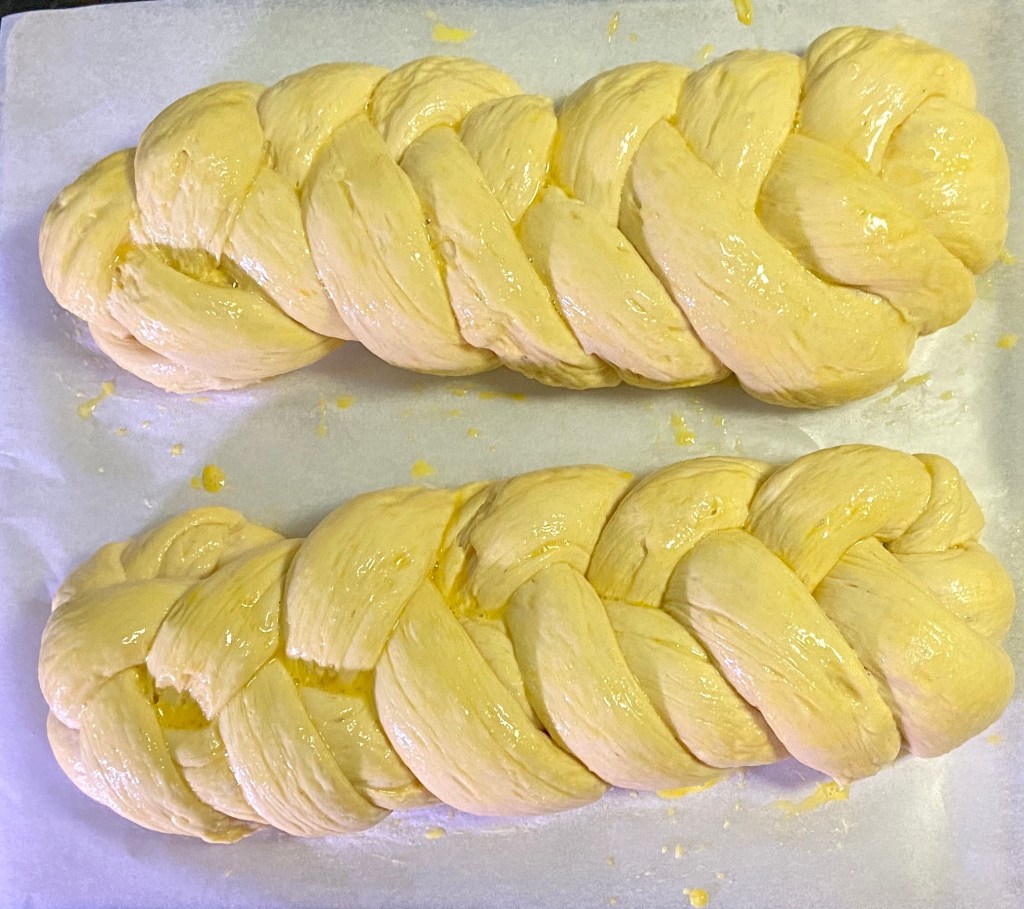
I took the dough out of the bowl and deflated it. I formed it into 8 long snakes and started to braid the challah. If you look at the picture above you can see I used 2 techniques. To be perfectly honest I’m not 100% sure which I like more but since it doesn’t affect the flavor I don’t mind trying new braiding techniques. Once they were braided I gave them an egg wash and set them to proof.
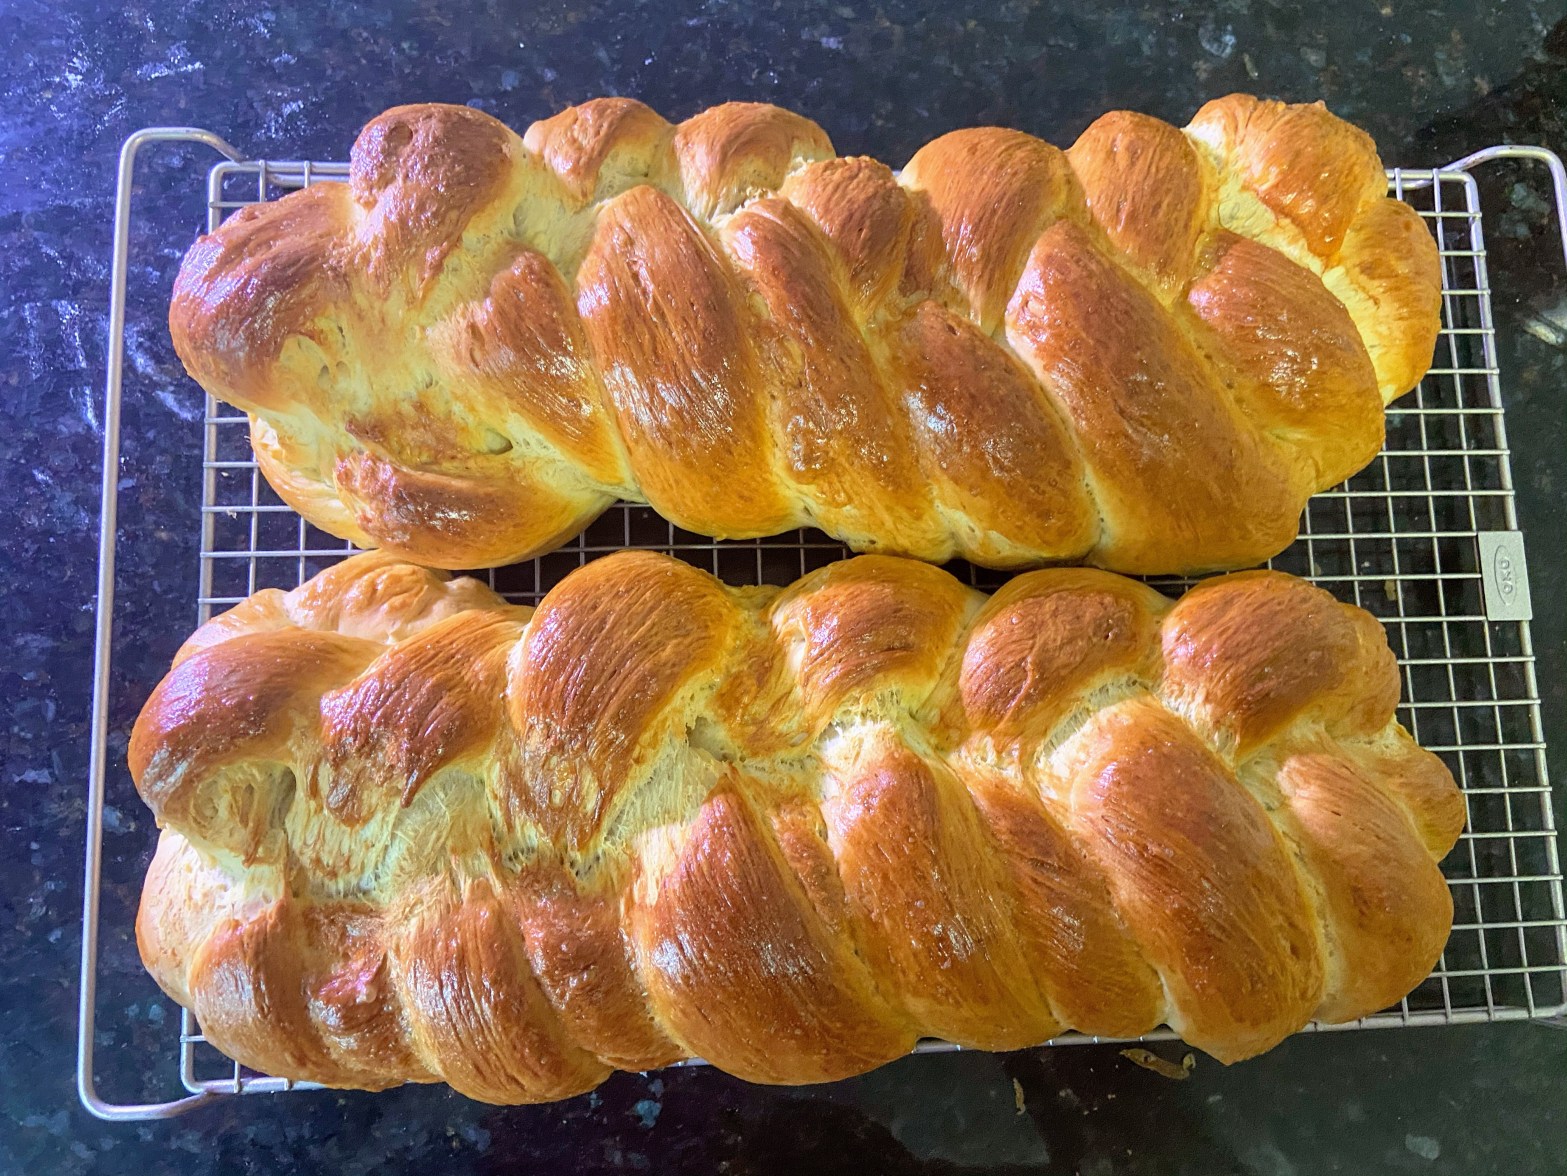
Once they were proofed (and given how much they had risen during the first rise I was checking on them every 10 minutes or so!) I gave them another egg wash and put them into a 425°F/215°C degree oven for 30 minutes. They came out gorgeously browned and significantly bigger than they went in. I mention the latter because I’m not too used to them growing this much when I use the straight recipe.
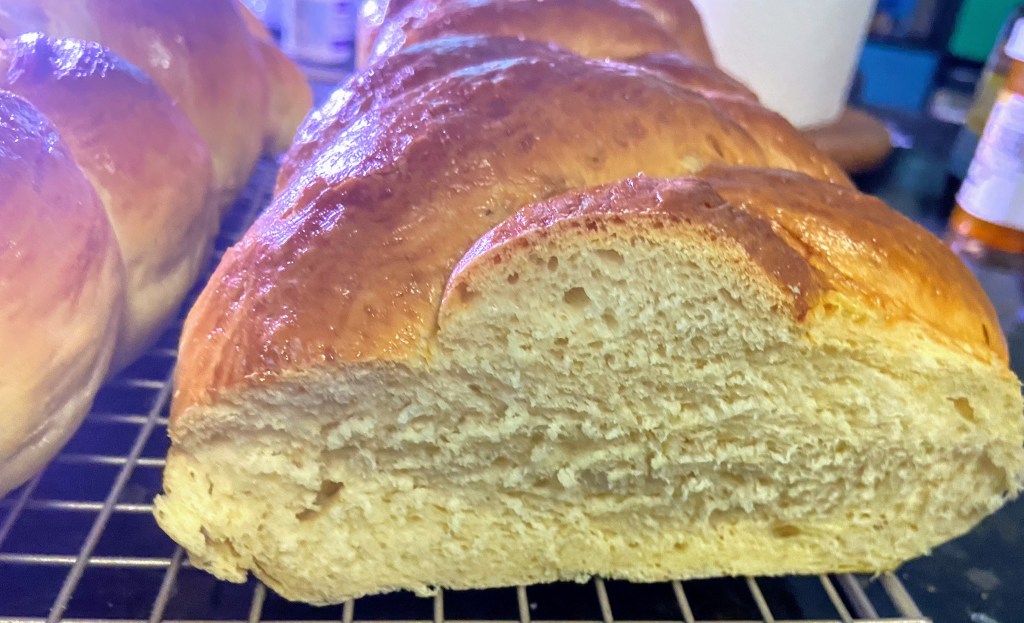
As you can see from the picture it looks like a challah should when you cut into it. When I saw how much it had grown I was half expecting huge air bubbles but thankfully it didn’t have that. I couldn’t taste the sourdough in it – not too surprising since I didn’t give it too much time – but I could tell that the starter had a huge impact on the baking. Next time, I think I’ll try cutting the yeast in half.
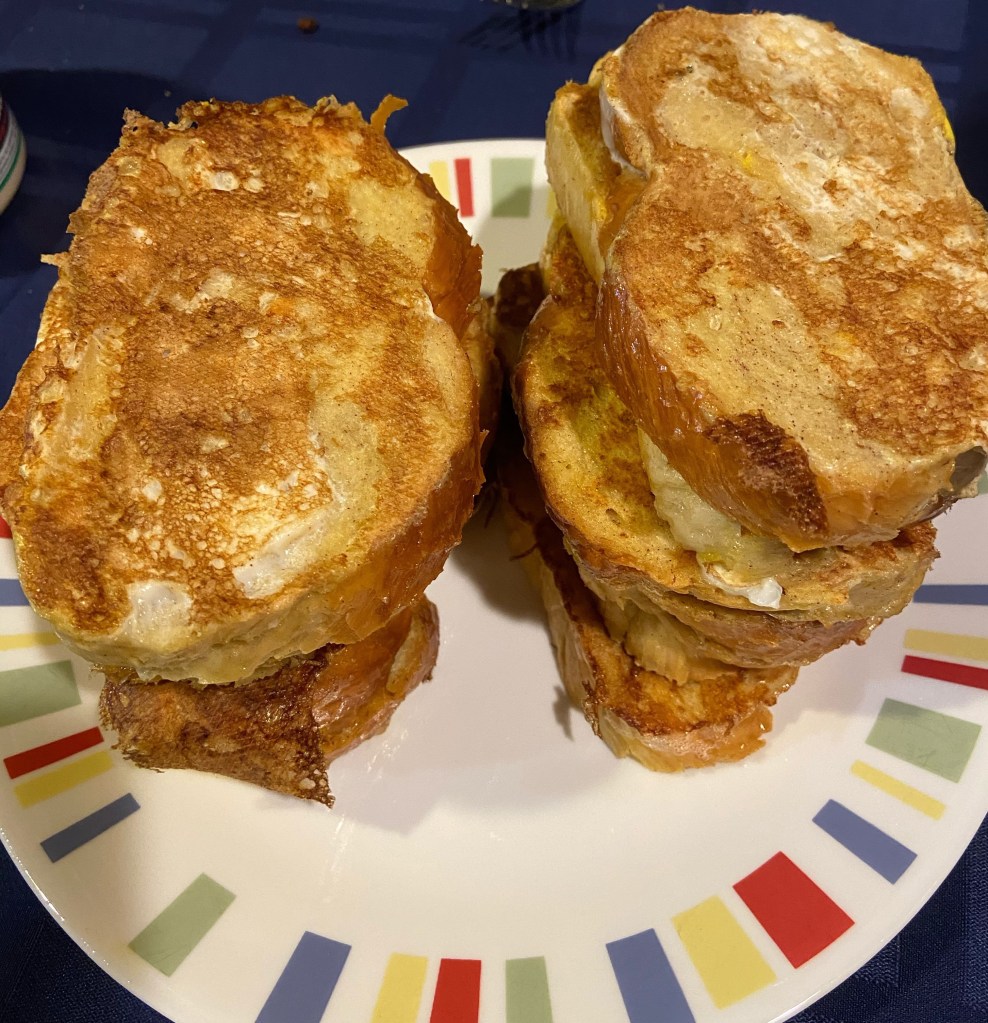
Most importantly, the challah became delicious french toast for Saturday’s breakfast!